Accessible Raised Garden Beds: A Complete Guide To Building Your Own
Disclosure: This post may contain affiliate links. If you click through and make a purchase, I may earn a small commission at no extra cost to you. As an Amazon Associate, I earn from qualifying purchases. Thank you for supporting My Stylish Backyard.
Introduction
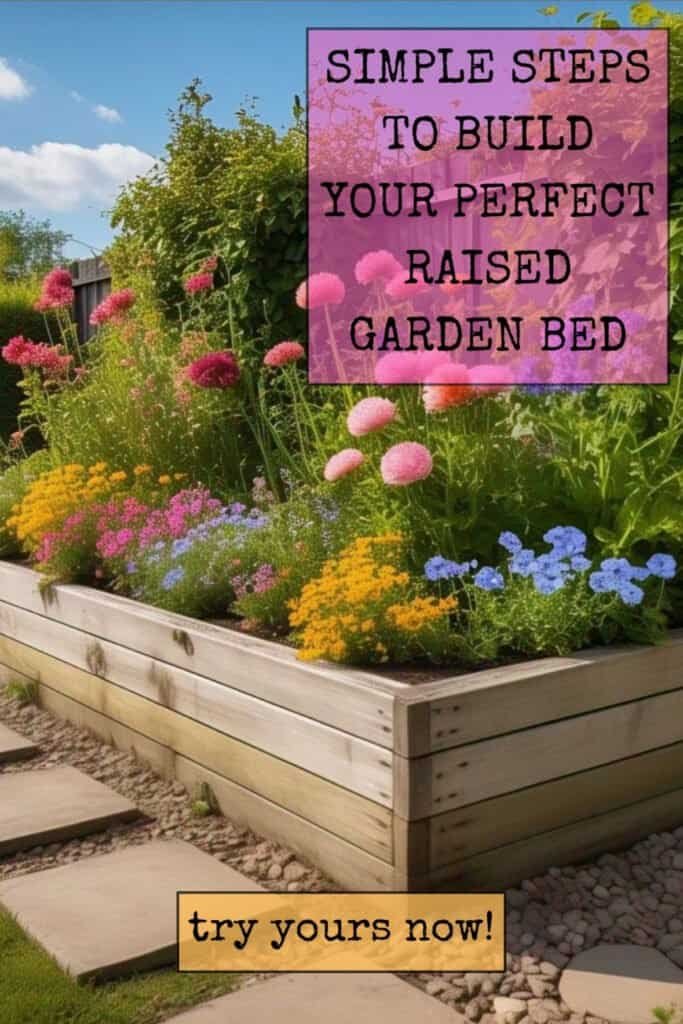
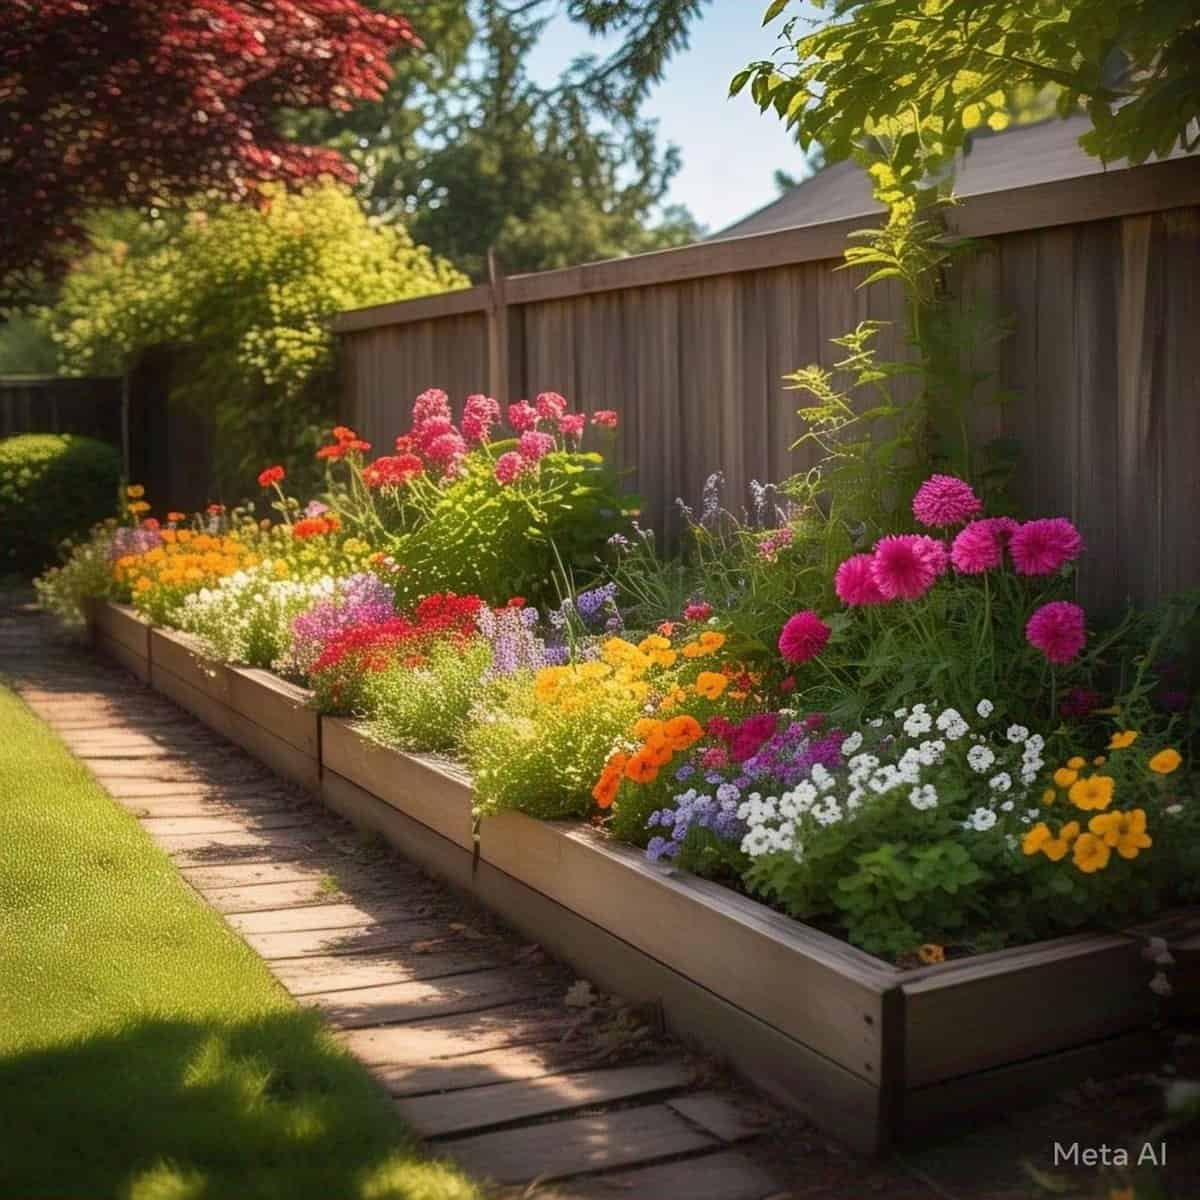
Gardening is one of life’s great pleasures, but traditional ground-level gardening can present significant challenges for people with mobility issues, disabilities, or even just aging knees and backs. Accessible raised garden beds offer an excellent solution, bringing the garden up to a more comfortable height while also providing better drainage, soil control, and even higher yields in many cases.
In this guide, I’ll walk you through everything you need to know about building raised flower beds that are accessible and comfortable for everyone. Whether you’re adapting your garden for personal needs or designing with universal access in mind, these instructions will help you create beautiful, functional garden spaces.
Benefits of Raised Bed Gardening
Before we get into the construction details, let’s look at why raised beds are so beneficial for accessibility:
- Reduced bending and kneeling: Higher beds mean less strain on backs, knees, and joints
- Wheelchair accessibility: Properly designed beds allow for side access from a seated position
- Better soil control: Start with perfect soil instead of amending existing ground
- Extended growing season: Raised beds warm up faster in spring
- Improved drainage: Especially helpful for people who can’t easily manage soil amendments
- Reduced weeding: Less bending over to pull weeds, and fewer weeds overall
- Defined garden spaces: Helpful for people with visual impairments
Planning Your Accessible Raised Beds
Determining the Right Height

The optimal height depends on who will be using the garden:
- For seated gardening (wheelchair users): 24-30 inches high
- For standing gardening (reducing bending): 30-36 inches high
- For standard raised beds: 12-24 inches high
Determining the Right Width
Width is crucial for accessibility:
- For access from one side only: Maximum 2 feet wide
- For access from both sides: Maximum 4 feet wide
- For wheelchair users: Ensure the bed is narrow enough that the middle can be reached from a seated position (typically 2-3 feet maximum)
Materials List
Here’s what you’ll need to build a basic 4′ x 8′ x 30″ raised bed:
Lumber and Hardware
- Twelve 2″ x 10″ x 8′ pressure-treated lumber boards (for sides)
- Four 4″ x 4″ x 36″ pressure-treated posts (for corners)
- One 2″ x 4″ x 8′ pressure-treated board (for top cap/seating, optional)
- 3″ exterior-grade deck screws (one box)
- 4″ exterior-grade deck screws (one box)
- Heavy-duty structural screws (for connecting corners)
- Landscape fabric (enough to line the bottom)
- Optional: metal corner braces for extra stability
Tools
- Circular saw or hand saw
- Drill with driver bits
- Measuring tape
- Level
- Square
- Pencil
- Sanding paper (for smoothing edges)
- Wheelbarrow (for soil)
- Heavy-duty stapler (for landscape fabric)
Soil Components (for a 4′ x 8′ x 30″ bed)
- Approximately 80 cubic feet of soil mix:
- 1/3 compost
- 1/3 topsoil
- 1/3 vermiculite or perlite
- Optional: Starter fertilizer appropriate for your planned plants
Step-by-Step Construction
Step 1: Choose the Location
Select a spot that:
- Gets appropriate sunlight for your intended plants (generally 6-8 hours for vegetables and flowers)
- Is relatively level (or can be leveled)
- Has access to water
- Provides enough space around the bed for mobility aids if needed
Step 2: Prepare the Ground
- Mark out the footprint of your bed using stakes and string
- Remove any grass or vegetation from the area
- Level the ground as much as possible
- If building on concrete or patio, plan for drainage holes
Step 3: Construct the Frame
Cut your lumber as needed. For a 4′ x 8′ bed, you’ll need:
- Four 8′ boards for the long sides
- Four 4′ boards for the short sides
Begin by creating the bottom layer:
- Place two 4′ pieces between two 8′ pieces to form a rectangle
- Secure the corners using 3″ screws (pre-drill holes to prevent splitting)
Add the corner posts:
- Place a 4×4 post at each corner, inside the frame
- Secure with structural screws from both sides
Continue building upward:
- Add the second layer of boards, securing to both the lower boards and the posts
- Repeat until you reach your desired height
Step 4: Strengthen the Structure
For taller beds (24″+ high), add additional supports:
- Install cross-braces on the outside of the longer sides
- Consider adding corner brackets for extra stability
Step 5: Add Accessibility Features
For enhanced accessibility, consider adding:
- A seating ledge: Attach 2×4 boards around the top edge for seating
- Smooth edges: Sand any rough spots to prevent splinters
- Reaching aids: Install hooks for garden tools
- Vertical trellises: Add these for climbing plants, reducing need to reach
Step 6: Prepare for Planting
- Line the bottom with landscape fabric to prevent weeds while allowing drainage
- Secure the fabric with staples along the inside edges
- For very tall beds, consider adding a layer of branches or sticks at the bottom to reduce the amount of soil needed (hugelkultur method)
Step 7: Fill with Soil
- Mix your soil components in a wheelbarrow:
- 1/3 compost for nutrients
- 1/3 topsoil for structure
- 1/3 vermiculite/perlite for drainageFill the bed, leaving about 1-2 inches of space at the top
2. Water thoroughly to help soil settle
3. You can also add a pre – mixed organic soil mix
Accessibility Enhancements
For Wheelchair Users:
- Create pathways at least 36″ wide between beds
- Use crushed stone, pavers, or other firm, level surfaces for paths
- Include a 30″ high workspace nearby for potting
- Consider adding irrigation systems to reduce watering effort
For Standing Gardeners:
- Include seating areas nearby for rest periods
- Create tool storage within easy reach
- Consider vertical growing options to reduce reaching
For Visual Impairments:
- Use contrasting colors on the edges of beds
- Add textured pathways or guideposts
- Consider aromatic plants for sensory cues
- Label plants with large print or braille tags
Maintenance Tips for Accessible Gardens
- Mulch heavily: This reduces watering and weeding needs
- Install drip irrigation: Automates watering and reduces physical effort
- Choose appropriate plants: Select varieties that match your maintenance capabilities
- Practice vertical gardening: Trellises reduce bending and reaching
- Use long-handled and ergonomic tools: These reduce strain during gardening tasks
- Consider fabric pots: For extremely flexible garden layouts that can be moved as needed
Cost Considerations
The materials for a basic 4′ x 8′ x 30″ raised bed will cost approximately:
- Lumber: $200-300 (varies by region and wood type)
- Hardware: $30-50
- Soil components: $100-150
- Optional features: $50-100
Total estimated cost: $380-600 per bed
Conclusion
Raised garden beds open up the joys of gardening to everyone, regardless of physical ability. By thoughtfully designing and constructing your beds, you can create a garden space that’s not just accessible, but actually more comfortable and productive than traditional gardens.
Remember to consider the specific needs of the gardeners who will be using the space. Whether it’s adjusting heights, widths, or adding specialized features, the best accessible garden is one that’s tailored to its users.
Happy gardening!
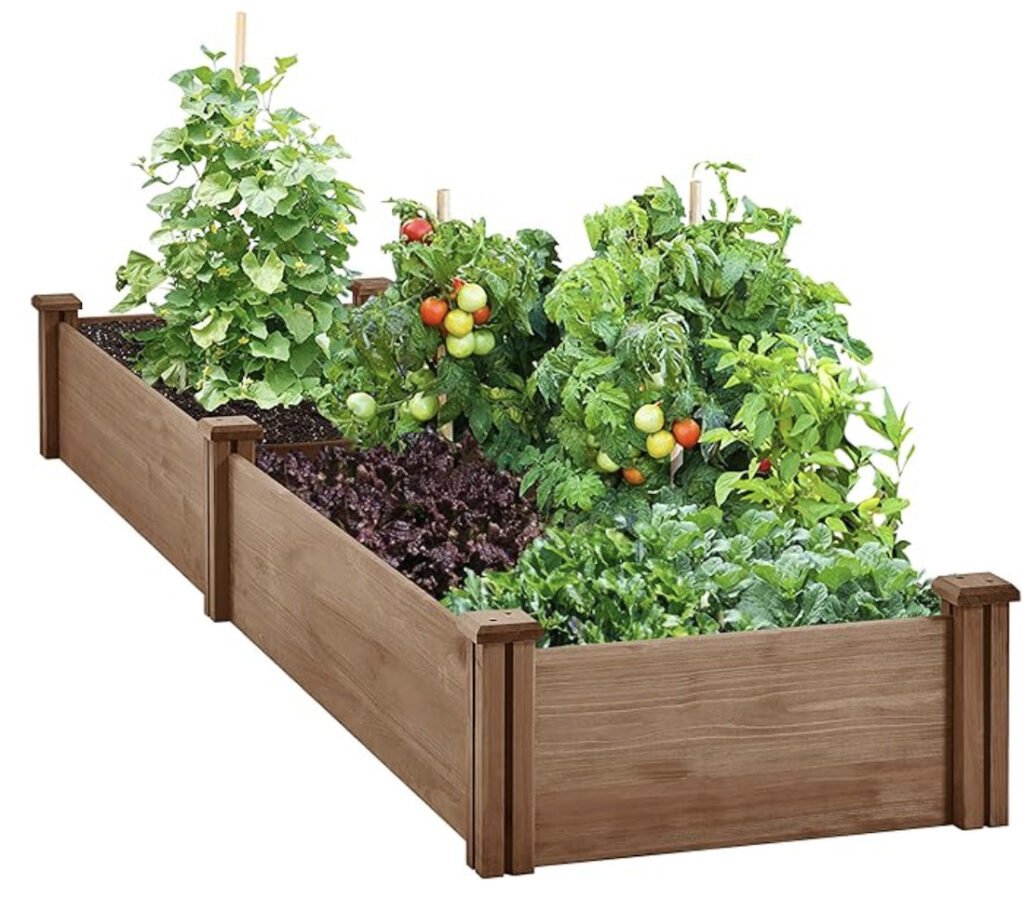
If you to want the wonder of these raised garden beds to make your life a little easier, but do not want the hassle of building them from the start, how about trying a ready made raised flower bed kit.
What modifications have you made to your garden for accessibility? Share your tips and experiences in the comments below! If you to want the wonder of these raised garden beds to make your life a little easier, but do not want the hassle of building them from the start, how about trying a ready made raised flower bed kit.
